Technical Design
By Ainsley Brooks
During semester one I developed new technical skills which had a huge impact to the project. I created a 20 second teaser, which will be added to our Wix website, I also played around with Bulb Shooting and editing RAW files.
Trailer
|
We went to the location and took photos on a Canon 550 at the Greyhound Stadium. We added haunting music and sound effects of dogs barking and text with headlines and the tagline "would you take a gamble"? |
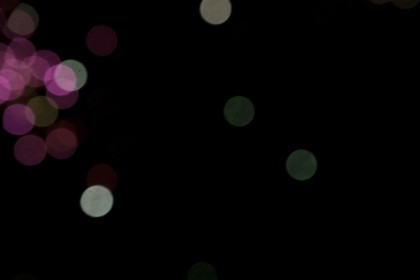
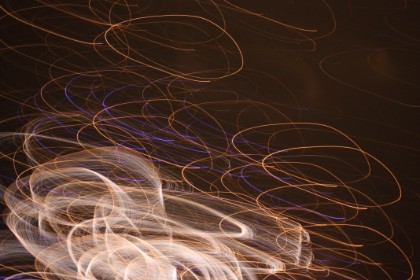
Bulb shooting
For these photos the "Quality" was set on RAW +JPEG Fine, I set this to "Sports" mode to capture the fireworks. At each shutter release the camera made two identical files, one as a JPEG and the other a RAW file containing an uncompressed version of the same image. The f/stop and shutter-speed combination was bracketed over a 10-stop range from extremely overexposed to considerably underexposed.
 |  |
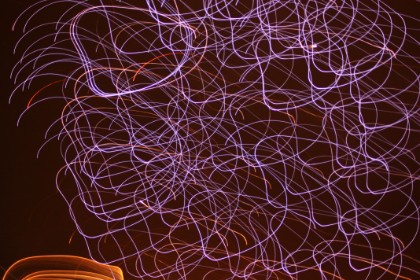 | 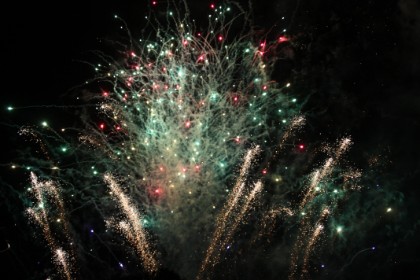 |
Bulb is a shutter speed setting on an adjustable camera that allows for long exposure times under the direct control of the photographer. With this setting, the shutter simply stays open as long as the shutter release button remains depressed.
The term bulb is a reference to old-style pneumatically actuated shutters; squeezing an air bulb would open the shutter and releasing the bulb would close it.
The bulb setting is used on some cameras, including some point-and-shoot cameras, to obtain shutter speeds slower than the maximum offered by the camera otherwise. Because of the risk of camera movement, the camera is most often mounted on a tripod for the duration of the exposure. While it's generally possible to use the shutter release button on the camera itself, a cable release or electronic remote is often used to further eliminate the risk of shaking the camera during the long exposure. The cable releases generally include a locking feature to eliminate the need to keep the button or plunger depressed during extremely long exposures.
The bulb setting is useful for the following types of photographic subjects:
• Fireworks at night
• The sky
• Lightning
• Streets at night (create streaks from moving cars)
Camera training: Canon 450d Before going out to take my photos for my photo essay, I had some training on a Canon 450d. The Canon 450d is used by many photographers because of it's functions including a 12.2 megapixel digital single lens. The 550d is another popular camera from Canon mainly because you can film on it, however it lacks in sound. The SLR training was useful and has changed my mind on wanting to feature stills in our documentary, useful for 'shocking' the viewer when they least expect it. | 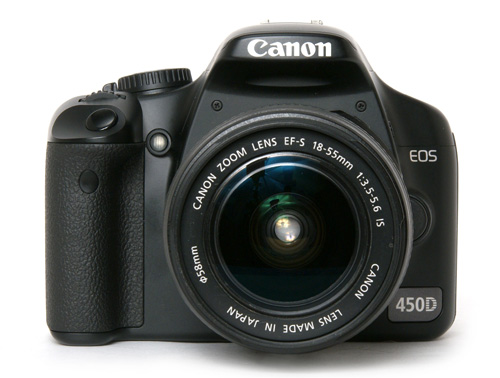 Image: http://www.trustedreviews.com/Canon-EOS-450D-digital-SLR_Digital-Camera_review |
Raw image formats are intended to capture as closely as possible (i.e. at the best of the specific sensor's performance) the radiometric characteristics of the scene, that is, physical information about the light intensity and color of the scene.
Most raw image file formats store information sensed according to the geometry of the sensor's individual photo-receptive elements (sometimes called pixels) rather than points in the expected final image: sensors with hexagonal element displacement, for example, record information for each of their hexagonally-displaced cells, which a decoding software will eventually transform into the rectangular geometry during "digital developing".
Why use Raw? Standard JPEG files squeeze all the technical information in an image into a small file size. this compression process, throws away pixel information it determines is redundant. It dumps some information at the two extremes of the exposure - the top of highlights and the bottom of the shadows. Raw files however are not processed in the camera. They contain exactly the information collected by the camera's sensor, regardless of any present colour settings.
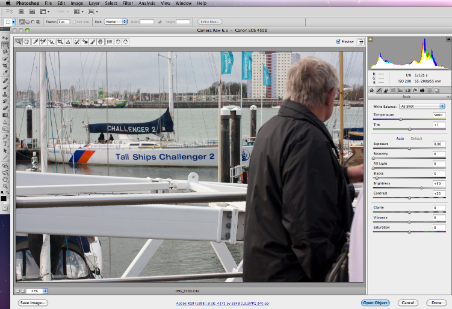 |  |
Above, is a photo I took for my Photo Essay, I decided to use this photo as an example for "Raw Editing". I opened Photoshop and the 'camera Raw 6.5' topped up, because the photo was shot in RAW setting. I changed the exposure from 0 to -0.85, I moved the recovery to '56' on the setting. In the HSL/Grayscale section I changed the greens and blues to bring out the colours more because there wasn't any sun of my shoot so the photo looks dull and lifeless. After many attempts of trying to change the colours I decided to change the hue/saturation to 0 and the lightness to 56, this made the picture Black and White, which I think works better and has a bigger effect showing the themes of isolation and alone.
Saving Files
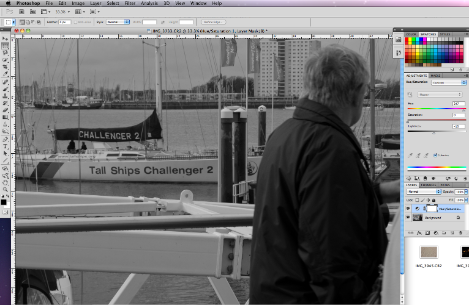
RAW files usually have a large file size. When saving, click on ‘File’ then ‘Save As’, a new box appears (see right) change the file type to ‘JPEG’, change the quality to ‘High’, the file size is now 855.8k instead of 3.2M, which saves a lot of space on websites and helps the website load faster. "Raw images - uncompressed, exactly as they were taken, with all the information saved resulting in a very large file size". Page 170 - Photo Journalism: The Professional's approach | 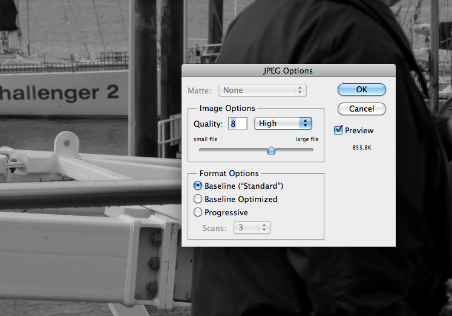 |
Wix
I created a Wix website to help promote the Documentary, the website was easy to set up. I choose a simple theme and added a picture of Greyhounds on a racetrack, the story section will include our synopsis, tagline and crew members. I added photos of all crew members on the 'Photos' section, more backstage photos of the production will be added at a later stage.
By creating a Wix website this not only makes the Documentary look more professional, it doesn't give too much information away on what we are really looking to find out.
The website includes the following pages:
'home, 'about', 'photos' and 'contact' Visit: www.wix.com/silverlineproduction/greyhound | 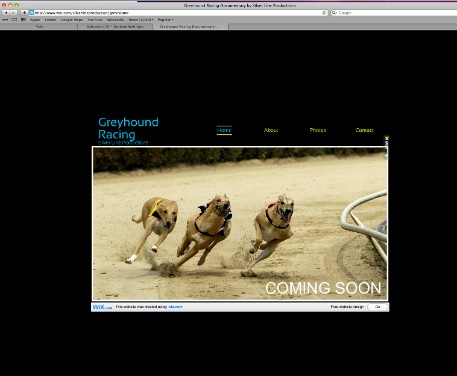 |
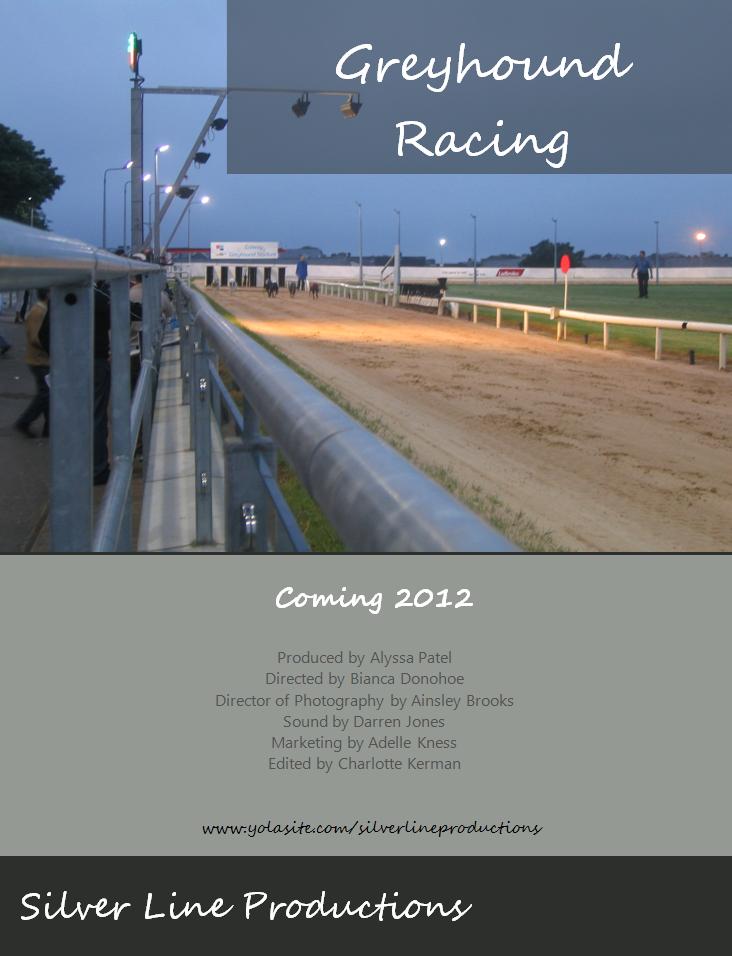
Flyer/ Poster
A flyer is a form of paper advertisement intended for wide distribution and typically posted or distributed in a public place. This is another technical skill I gained by creating a flyer on Photoshop. I added a copyright free image, with text in the corner. I added a dark aqua green for the backstage and added more text on top. This is great promotion because you can fit a lot onto a flyer. I included the Documentary title, our production company name, crew members, when the Documentary will be released and the website (for them to find out more).
This flyer will be handed out to the rest of the class and other students around campus.